
Infolist Builder - Entries
Getting started
Overview
Entry classes can be found in the Filament\Infolists\Components namespace. You can put them inside the $infolist->schema() method:
use Filament\Infolists\Infolist; public function infolist(Infolist $infolist): Infolist{ return $infolist ->schema([ // ... ]);}If you're inside a panel builder resource, the infolist() method should be static:
use Filament\Infolists\Infolist; public static function infolist(Infolist $infolist): Infolist{ return $infolist ->schema([ // ... ]);}Entries may be created using the static make() method, passing its unique name. You may use "dot notation" to access entries within relationships.
use Filament\Infolists\Components\TextEntry; TextEntry::make('title') TextEntry::make('author.name')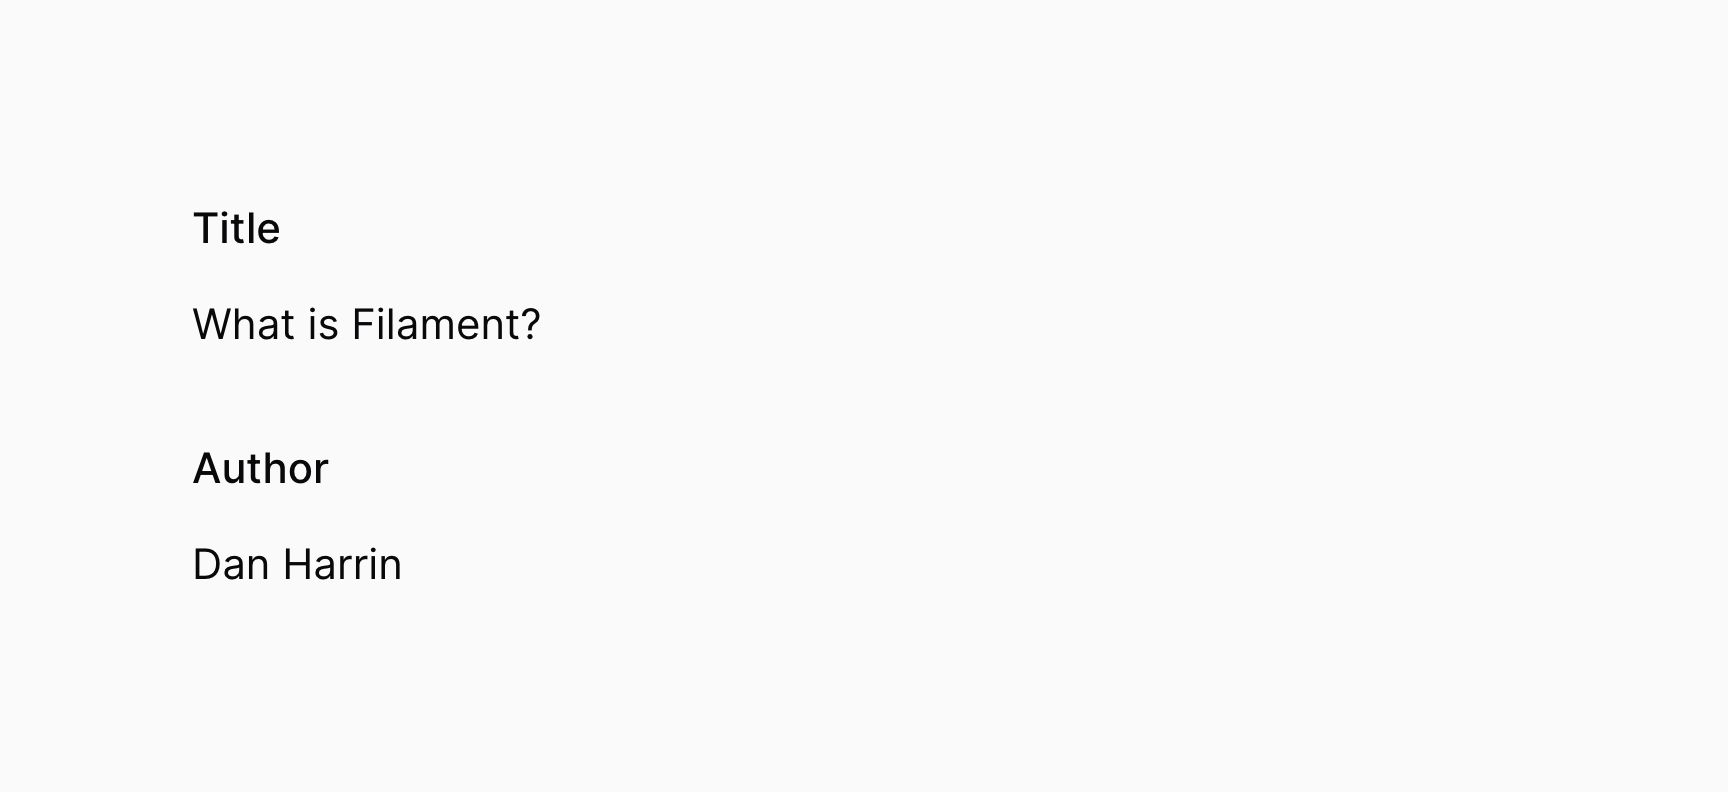

Available entries
You may also create your own custom entries to display data however you wish.
Setting a label
By default, the label of the entry, which is displayed in the header of the infolist, is generated from the name of the entry. You may customize this using the label() method:
use Filament\Infolists\Components\TextEntry; TextEntry::make('title') ->label('Post title')Optionally, you can have the label automatically translated using Laravel's localization features with the translateLabel() method:
use Filament\Infolists\Components\TextEntry; TextEntry::make('title') ->translateLabel() // Equivalent to `label(__('Title'))`Entry URLs
When an entry is clicked, you may open a URL.
Opening URLs
To open a URL, you may use the url() method, passing a callback or static URL to open. Callbacks accept a $record parameter which you may use to customize the URL:
use Filament\Infolists\Components\TextEntry; TextEntry::make('title') ->url(fn (Post $record): string => route('posts.edit', ['post' => $record]))You may also choose to open the URL in a new tab:
use Filament\Infolists\Components\TextEntry; TextEntry::make('title') ->url(fn (Post $record): string => route('posts.edit', ['post' => $record])) ->openUrlInNewTab()Setting a default value
To set a default value for entries with an empty state, you may use the default() method. This method will treat the default state as if it were real, so entries like image or color will display the default image or color.
use Filament\Infolists\Components\TextEntry; TextEntry::make('title') ->default('Untitled')Adding placeholder text if an entry is empty
Sometimes you may want to display placeholder text for entries with an empty state, which is styled as a lighter gray text. This differs from the default value, as the placeholder is always text and not treated as if it were real state.
use Filament\Infolists\Components\TextEntry; TextEntry::make('title') ->placeholder('Untitled')

Adding helper text below the entry
Sometimes, you may wish to provide extra information for the user of the infolist. For this purpose, you may add helper text below the entry.
The helperText() method is used to add helper text:
use Filament\Infolists\Components\TextEntry; TextEntry::make('name') ->helperText('Your full name here, including any middle names.')This method accepts a plain text string, or an instance of Illuminate\Support\HtmlString or Illuminate\Contracts\Support\Htmlable. This allows you to render HTML, or even markdown, in the helper text:
use Filament\Infolists\Components\TextEntry;use Illuminate\Support\HtmlString; TextEntry::make('name') ->helperText(new HtmlString('Your <strong>full name</strong> here, including any middle names.')) TextEntry::make('name') ->helperText(str('Your **full name** here, including any middle names.')->inlineMarkdown()->toHtmlString()) TextEntry::make('name') ->helperText(view('name-helper-text'))

Adding a hint next to the label
As well as helper text below the entry, you may also add a "hint" next to the label of the entry. This is useful for displaying additional information about the entry, such as a link to a help page.
The hint() method is used to add a hint:
use Filament\Infolists\Components\TextEntry; TextEntry::make('apiKey') ->label('API key') ->hint('Documentation? What documentation?!')This method accepts a plain text string, or an instance of Illuminate\Support\HtmlString or Illuminate\Contracts\Support\Htmlable. This allows you to render HTML, or even markdown, in the helper text:
use Filament\Infolists\Components\TextEntry; TextEntry::make('apiKey') ->label('API key') ->hint(new HtmlString('<a href="/documentation">Documentation</a>')) TextEntry::make('apiKey') ->label('API key') ->hint(str('[Documentation](/documentation)')->inlineMarkdown()->toHtmlString()) TextEntry::make('apiKey') ->label('API key') ->hint(view('api-key-hint'))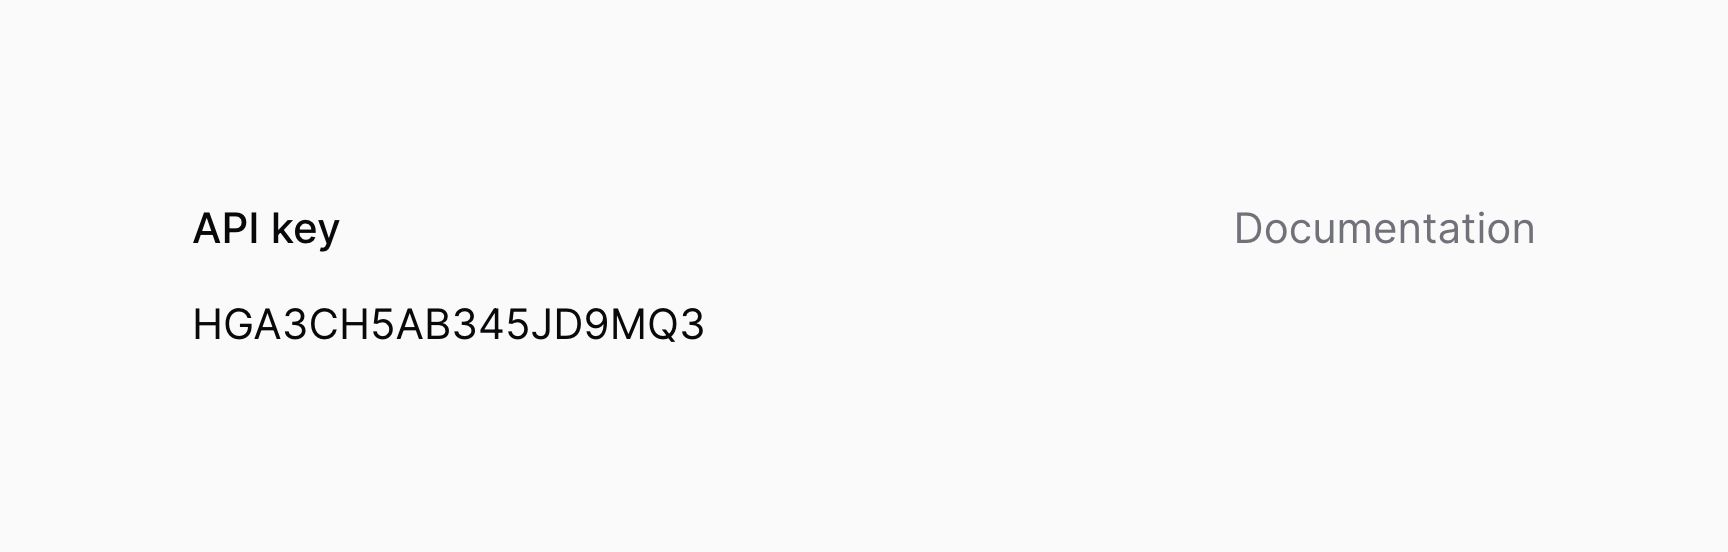

Changing the text color of the hint
You can change the text color of the hint. By default, it's gray, but you may use danger, info, primary, success and warning:
use Filament\Infolists\Components\TextEntry; TextEntry::make('apiKey') ->label('API key') ->hint(str('[Documentation](/documentation)')->inlineMarkdown()->toHtmlString()) ->hintColor('primary')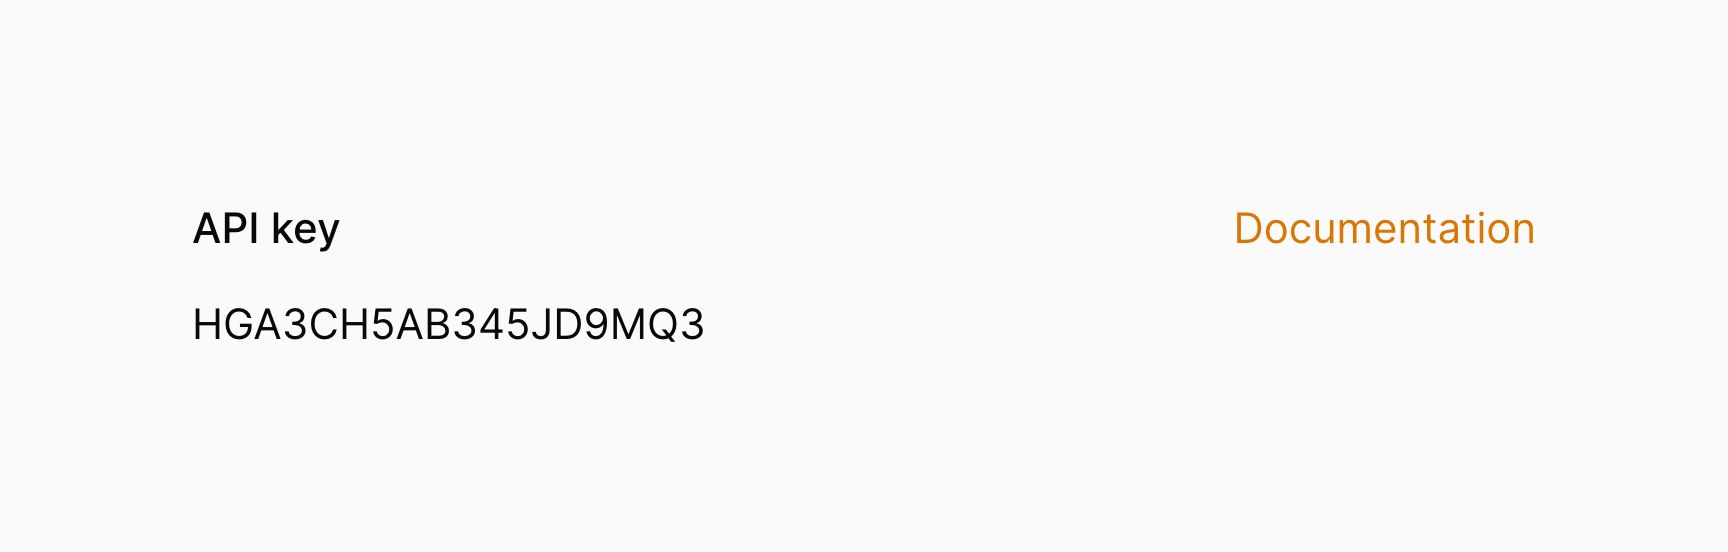

Adding an icon aside the hint
Hints may also have an icon rendered next to them:
use Filament\Infolists\Components\TextEntry; TextEntry::make('apiKey') ->label('API key') ->hint(str('[Documentation](/documentation)')->inlineMarkdown()->toHtmlString()) ->hintIcon('heroicon-m-question-mark-circle')Adding a tooltip to a hint icon
Additionally, you can add a tooltip to display when you hover over the hint icon, using the tooltip parameter of hintIcon():
use Filament\Infolists\Components\TextEntry; TextEntry::make('apiKey') ->label('API key') ->hint(str('[Documentation](/documentation)')->inlineMarkdown()->toHtmlString()) ->hintIcon('heroicon-m-question-mark-circle', tooltip: 'Read it!')Hiding entries
To hide an entry conditionally, you may use the hidden() and visible() methods, whichever you prefer:
use Filament\Infolists\Components\TextEntry; TextEntry::make('role') ->hidden(! auth()->user()->isAdmin())// orTextEntry::make('role') ->visible(auth()->user()->isAdmin())Calculated state
Sometimes you need to calculate the state of an entry, instead of directly reading it from a database entry.
By passing a callback function to the state() method, you can customize the returned state for that entry:
Infolists\Components\TextEntry::make('amount_including_vat') ->state(function (Model $record): float { return $record->amount * (1 + $record->vat_rate); })Tooltips
You may specify a tooltip to display when you hover over an entry:
use Filament\Infolists\Components\TextEntry; TextEntry::make('title') ->tooltip('Shown at the top of the page')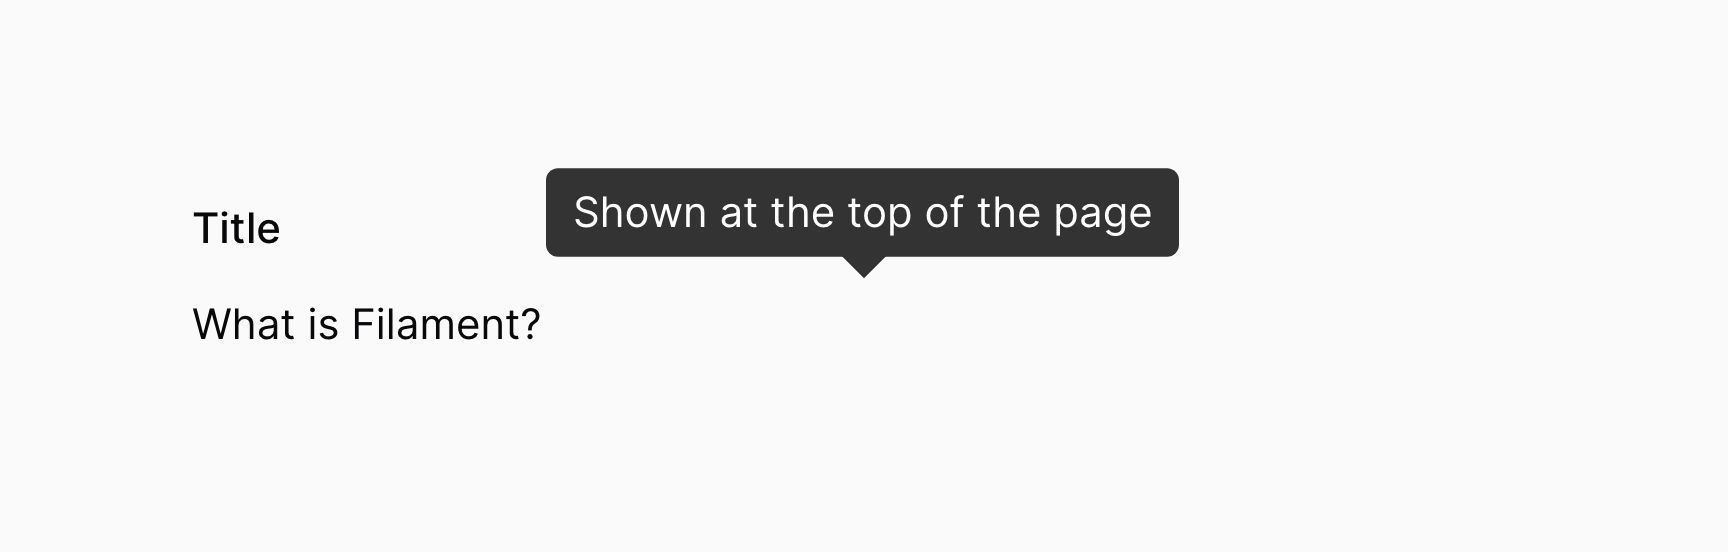

This method also accepts a closure that can access the current infolist record:
use Filament\Infolists\Components\TextEntry;use Illuminate\Database\Eloquent\Model; TextEntry::make('title') ->tooltip(fn (Model $record): string => "By {$record->author->name}")Custom attributes
The HTML of entries can be customized, by passing an array of extraAttributes():
use Filament\Infolists\Components\TextEntry; TextEntry::make('slug') ->extraAttributes(['class' => 'bg-gray-200'])These get merged onto the outer <div> element of each entry in that entry.
Global settings
If you wish to change the default behaviour of all entries globally, then you can call the static configureUsing() method inside a service provider's boot() method, to which you pass a Closure to modify the entries using. For example, if you wish to make all TextEntry components words(10), you can do it like so:
use Filament\Infolists\Components\TextEntry; TextEntry::configureUsing(function (TextEntry $entry): void { $entry ->words(10);});Of course, you are still able to overwrite this on each entry individually:
use Filament\Infolists\Components\TextEntry; TextEntry::make('name') ->words(null)Still need help? Join our Discord community or open a GitHub discussion